

 910-395-5799 |
 Flashing Detail


Blue Chip Builders window and weather barrier installation.
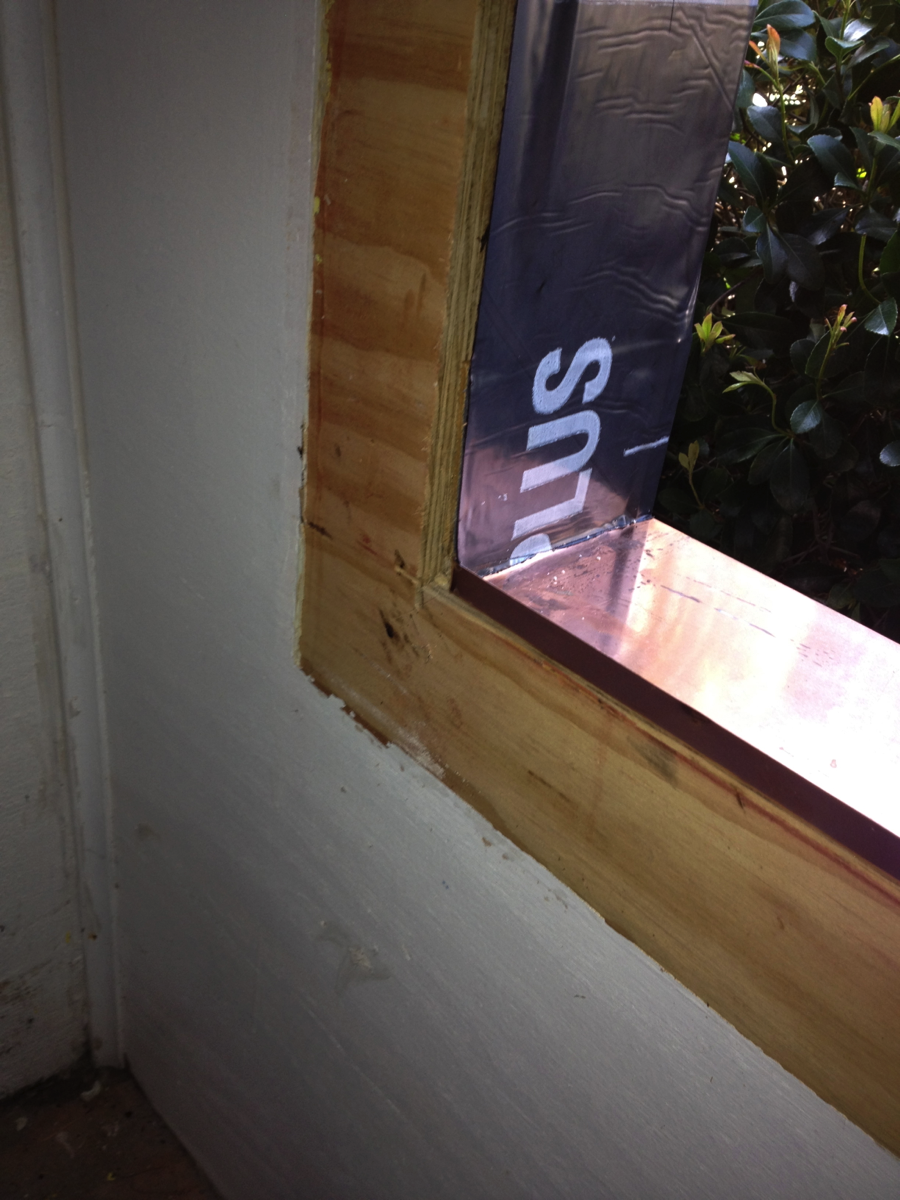
Picture #1: All window and doorsills areas are flashed with copper and/or stainless steel window pans integrated with felt weather barrier and the drainage plane.
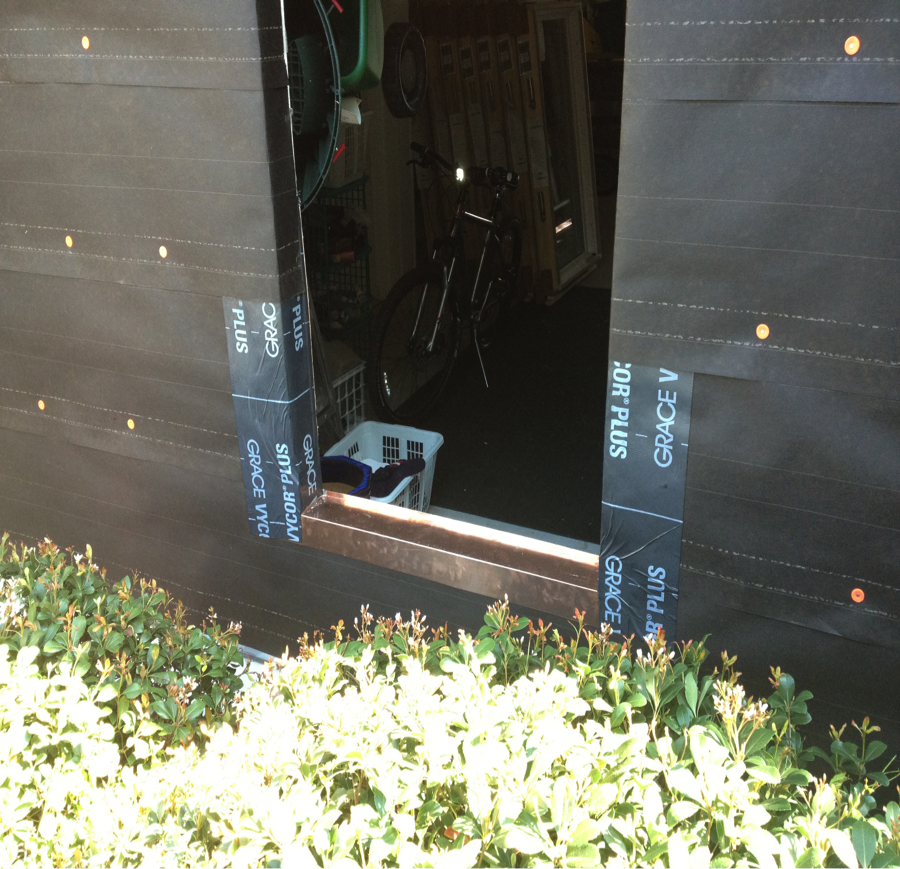
Picture #2: End tabs and jamb tabs of pans are wrapped with twelve inch Grace Vycor plus® membrane and integrated into the 15 lb. felt that is installed on a eighteen-inch exposure creating a drainage plane that carries moisture to the outside of the building envelope. Window nailing flanges are caulked on the top and sides before installation. The bottom nailing flange is skip caulked allowing for window pan to drain to the outside drainage plane. 10-penny stainless steel ring-shank nails are installed on an upward incline in each hole provided by the window manufacture.
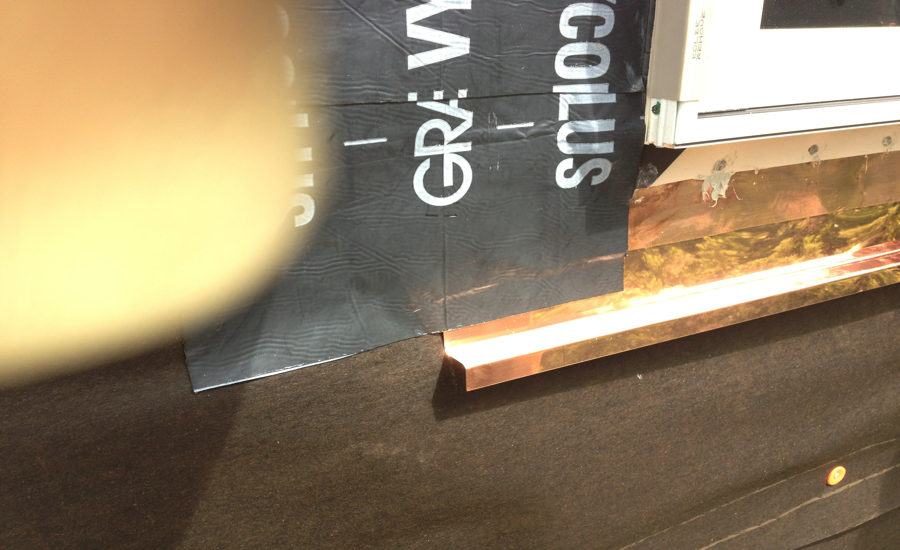
Picture #3: “Z” flashing is installed under pan flashing and spaced for sill trim board and expansion joint. All layers flashing, membranes, and felt are integrated to direct water to outside of the home and drainage plane
Picture #4: Head of window nailing flange is topped off with twelve inch Vycor® membrane that will be integrated with felt above, exterior trim and head flashings.
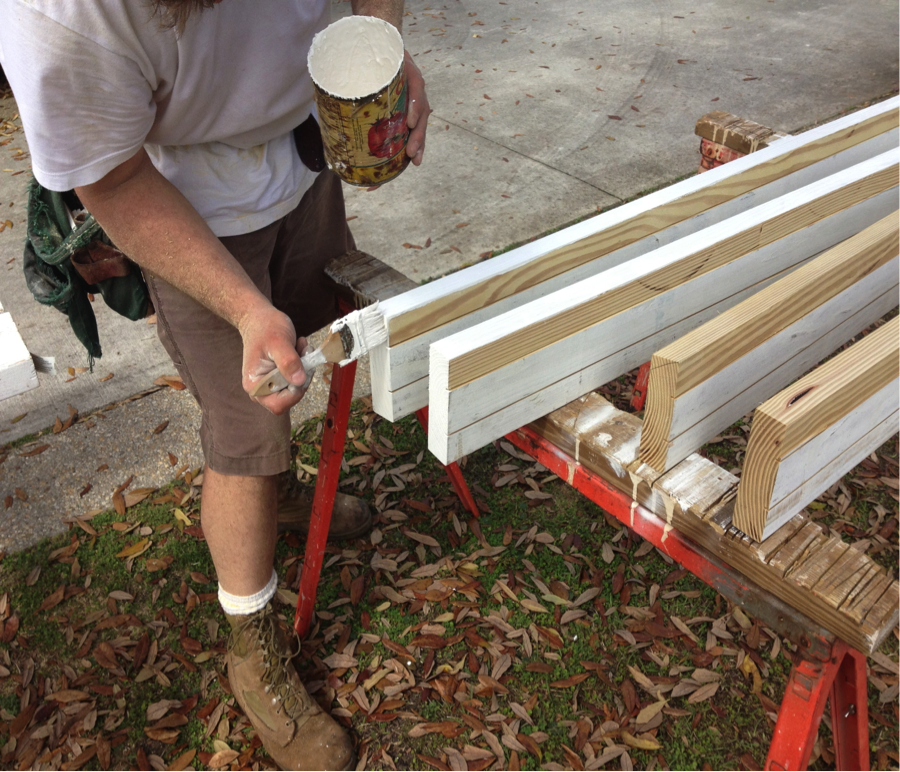
Picture #5: Windows trim boards are graded, sized and back cut to prevent cupping. Window flange side of the trim boards are dado cut allowing trim boards to lay flat against the wall surface giving a flush trim joint. Nail holes are laid out and pre-drilled in all.
Picture #6: Trim boards used on the sill are bevel cut 22.5 degrees along their top edge, jamb trims are bevel cut to match sill trims. Trim boards are then fastened with 16-penny stainless steel ring shank nails and gauged 3/8” of an inch away from window frame giving a uniform control joint around the perimeter of the window.
Picture #7: Control joint is prepped by double wiping with denatured alcohol and primed with a polyurethane caulk primer. Polyurethane sealant is applied into the control joint over a backer-rod, sealant is tooled into the control joint to work out air bubbles and to achieve bond. The end results are a finished appearance that is acceptable to the eye and will perform for years to come.